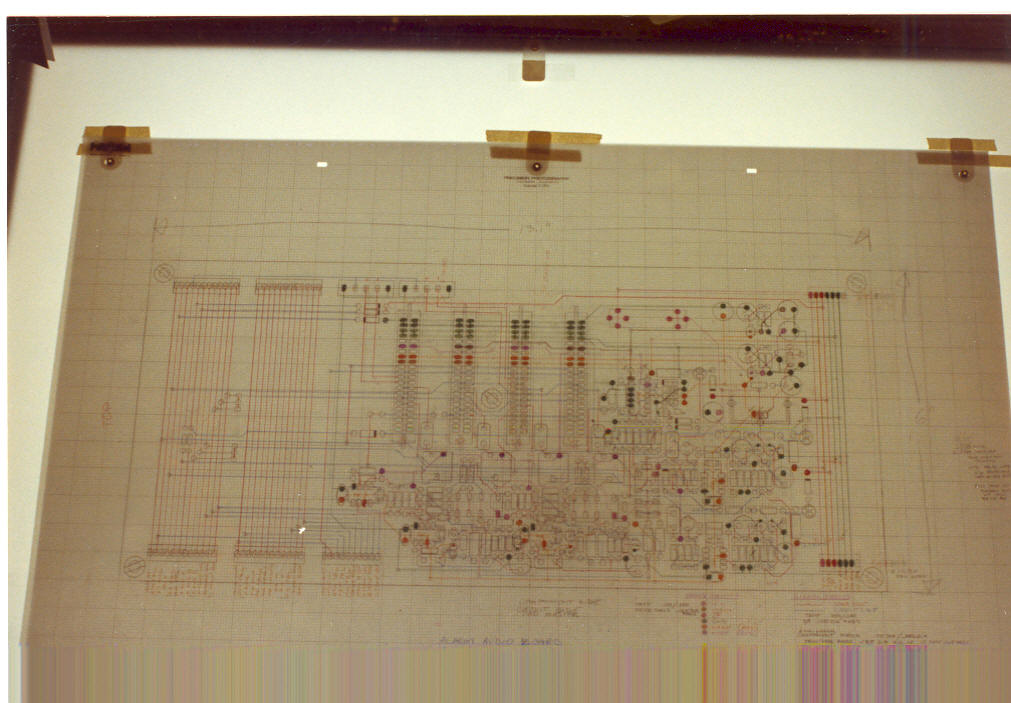
Hand taped artwork begins with a layout of
the board...
The equipment needed to begin is as follows:
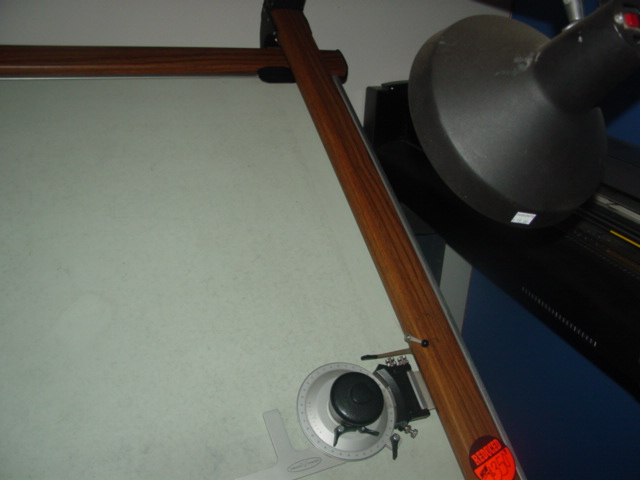
Drafting table or board
Light table
Mylar Grid
a pin align system
7 mil Mylar sheets
2 mil Mylar 'Die matte'
vellum
Die cut crepe tape in various sizes
an x-acto knife and blades or a surgical
scalpel
colored pencils
Drawing templates
5mm HB lead and a mechanical pencil


After the schematic diagram has been drawn
and checked the designer will want to prepare
'paper dolls' of the physical components to be
laid out on the board.


The method we used involved getting the data
sheet on the component to be drawn and
transferring the image of the chip or discrete
component to 2 mil die matte material because
it was thin and translucent and easily cut from
the roll... and less expensive.


Most Designers purchased a set of templates
that had guides for your pencil to quickly
sketch in the pad pattern and component body
without having to do precision drafting...
After drawing the placement of the parts...
coding the power and ground pins was next...
then sheets of Die-mat were used to draw the
traces... with colored pencils... dry
transfer lettering
After the layout was finished... the
Designer began taping... Bishop Graphics,
ChartpaK and Brady were the main suppliers of
die cut precision tapes for artworks...

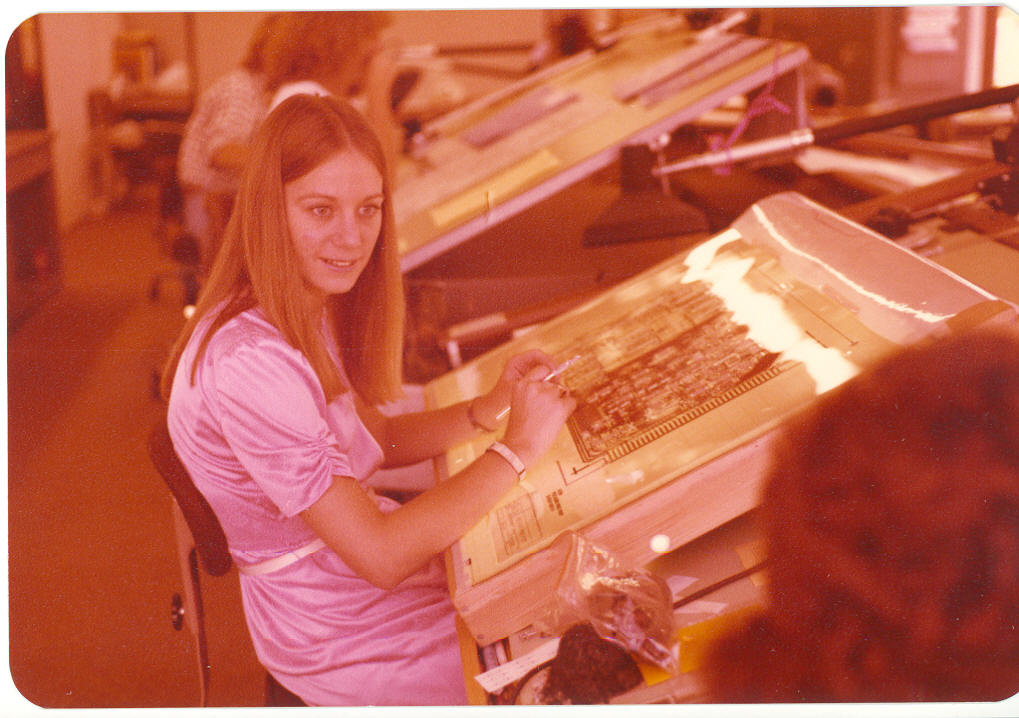
Here are some of my old pictures from OAK
SYSTEMS back in the 1970's/1980's... Some of
the great folks I worked with there...
Lynn Barton, Wren Higgins...

Jerry Disparti

Emmett Briner

Susan Quinn, Jerry Disparti in the background

Another 'hung design'.... Larry Knight

I forget... Linda or Lynn? someone??? e-mail me
with her name...

Heidi Messersmith, and... I forget ... Tom?
someone e-mail his name to me...

Larry Knight


